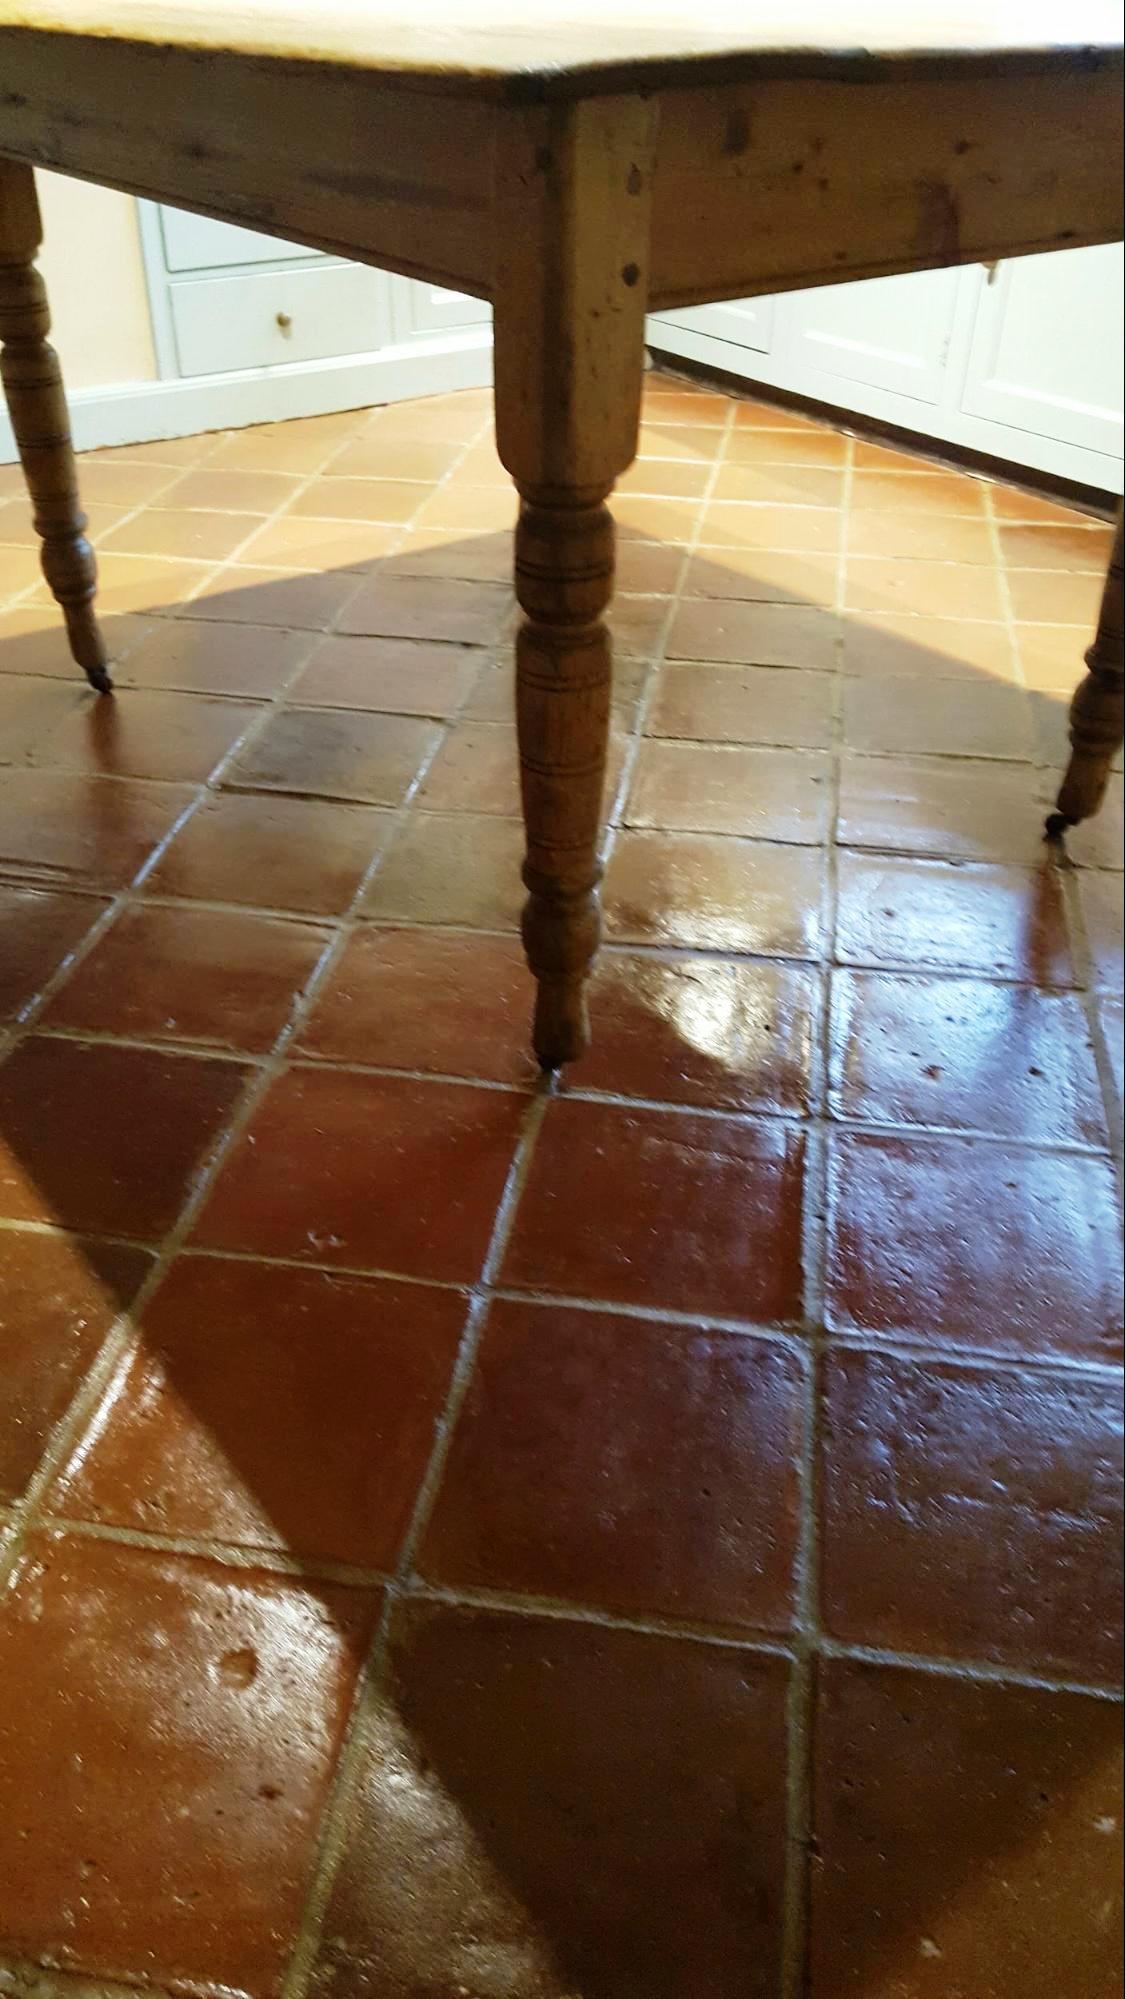
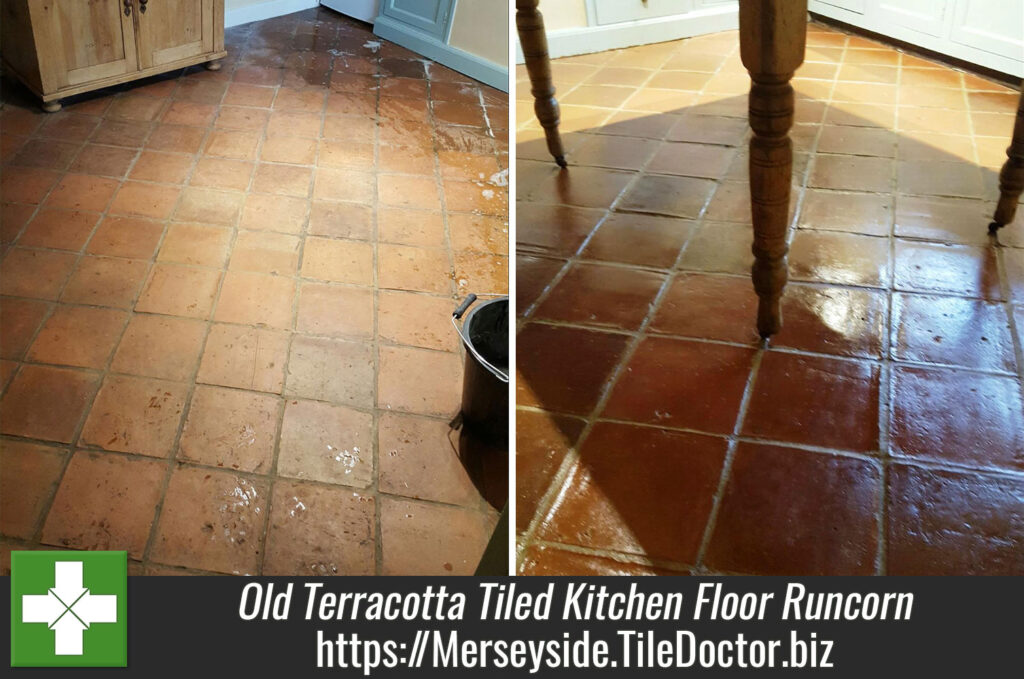
This post comes from a job I did for a customer in who lives in the town of Runcorn on the south bank of the River Mersey. The request was to restore the Terracotta floor tiles in the kitchen of a property which dated back to 1773 and still had all its original features inside and out. You can see from the photograph below that the tile and grout were looking very dull and well overdue a deep clean and seal.

Deep Cleaning a Terracotta Tiled Kitchen Floor
To clean the floor, I soaked the floor in a strong dilution of Tile Doctor Remove and Go which is a strong stripping and cleaning solution which removes sealers and also draws out ingrained stains and also the heavy grease build up that was present around the cooker.
After twenty to thirty minutes the solution was worked into the tiles using a black scrubbing pad fitted to a rotary machine. The soiled solution was then removed with a wet vacuum and this was followed by scrubbing the grout lines with more Remove and Go and a grout brush until they were clean. The whole floor was then rinsed with water to remove any soil and trace of cleaning product. The water was then extracted using the wet vacuum. The floor was then checked to make sure it was as clean as it could be and stubborn areas spot treated.
Once I was happy the floor was clean it became apparent that some of the grout was loose and would need replacing so I took care of that using a matching grout before calling it a day and leaving the floor to dry out overnight.
Sealing a Terracotta Tiled Kitchen Floor
We returned next morning and tested the tiles with a damp meter making sure it was dry before we could seal it. To seal the floor, I used Tile Doctor Seal and Go which adds a nice sheen to the tiles and works really well on Terracotta.


